
Court View & Tactics Board
Drill Builder Guide
- Court View and the Tactics Board share the same data: a sequence saved on one board appears on the other, and selecting a sequence can play both in sync.
- Shot Snap: after your first wall tap the physically correct continuation is drawn on the floor — later taps snap onto it.
- Auto Hop: place the first bounce and the second bounce is computed by real physics — wall rebounds included.
- Draft Drill: the dumbbell button starts a training session with your work-in-progress sequences ("Draft Drill"). Replay saving is off during a draft session.
- On a tablet, the Tactics Board doubles as a live coaching board — draw patterns courtside in real time.
- Routines: group saved drills into an ordered routine and train them in sequence — manage them in My Page › My Drills.
- Sign in to save drills to My Drills, share them with a link, and create routines.
On-Court Indicators
Player
The circle you control. Tap or click a spot on the court to move there.
Power Donut
The player-coloured ring inside the shot area, at full arm extension (about 80% of your reach) — think of it as the sweet spot on the racket face. Striking the ball on this ring gives the strongest shot; hitting it too close to your body is weaker.
Shot Area
The white dotted ring around the player — your reach (about 1.3 m). You can hit the ball only while it is inside this ring.
How to Build a Drill
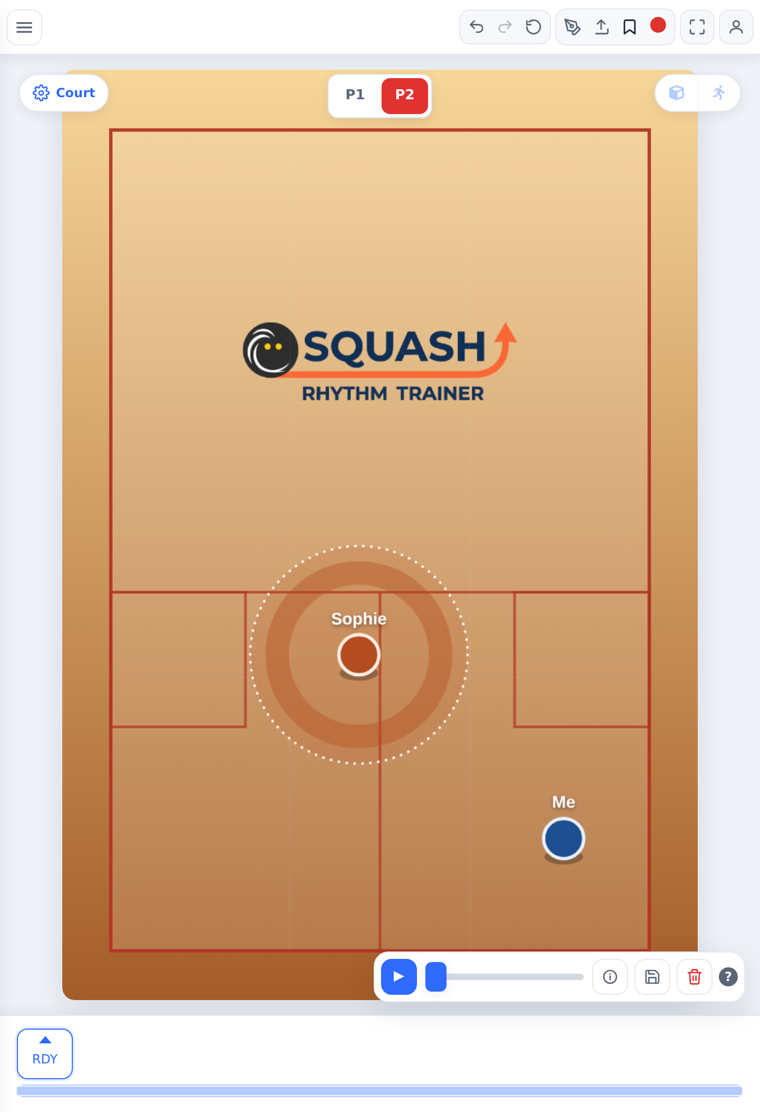
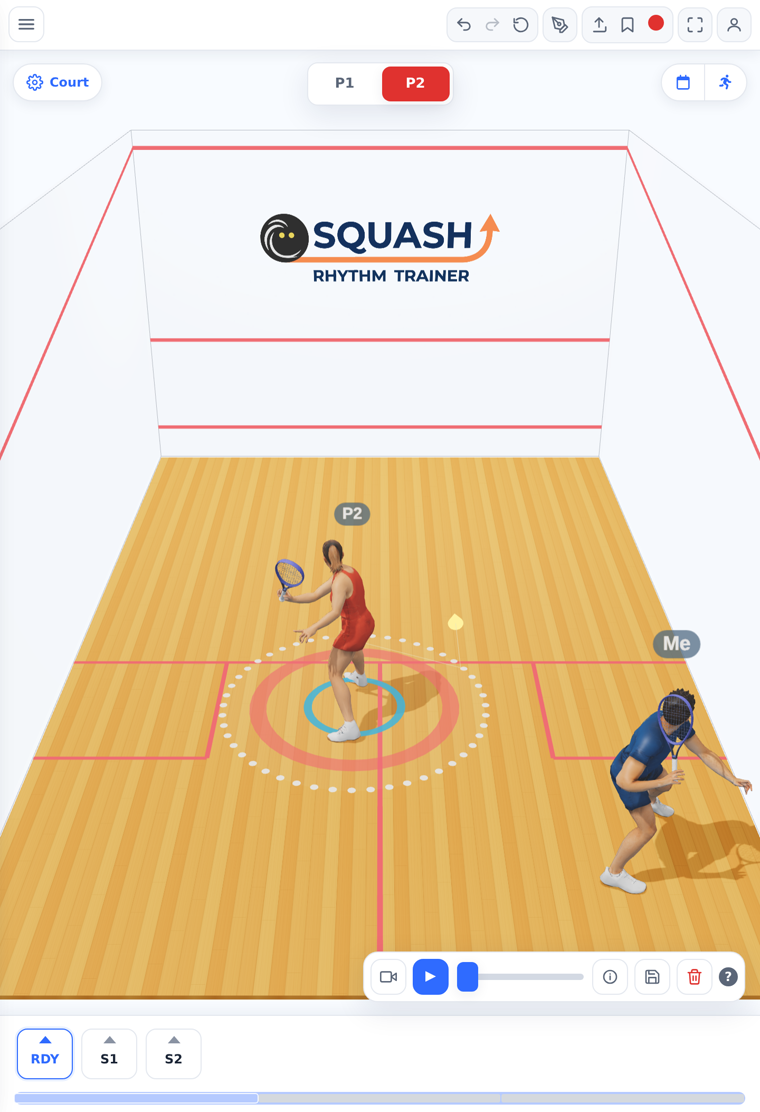
Step 1
Set the Starting Stance
Scene 1: place both players where the rally begins — no shot path yet — and press Save. This stance frame becomes the drill's ready position.
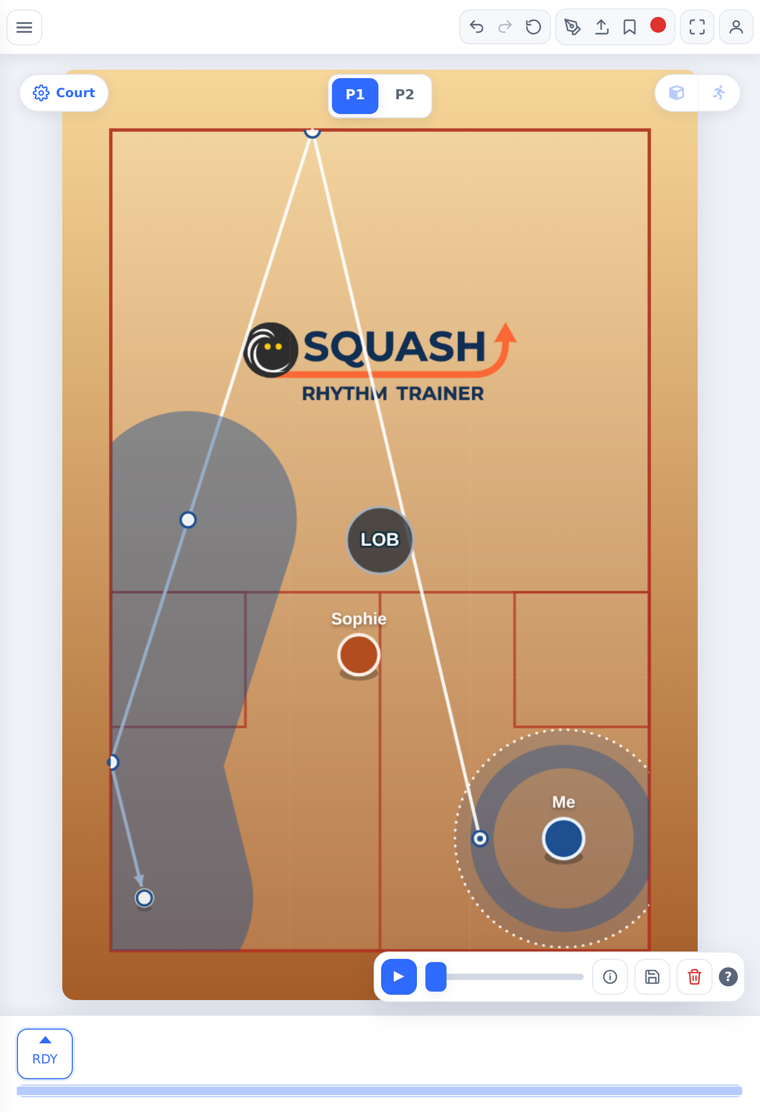
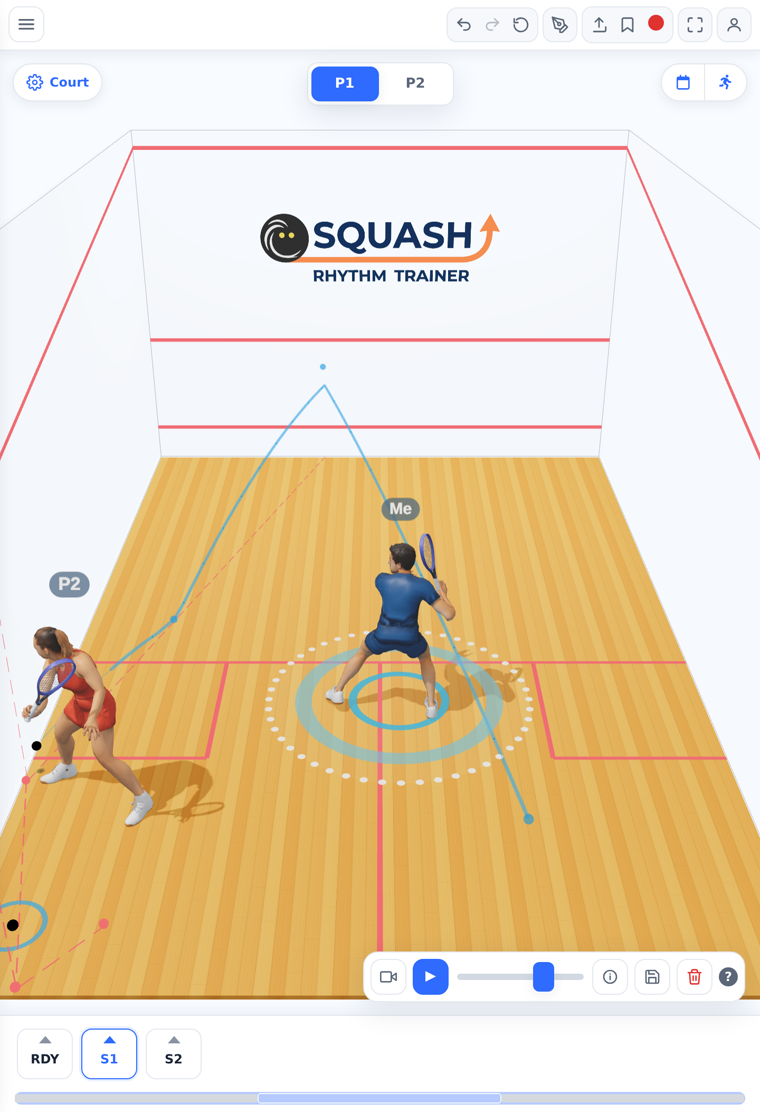
Step 2
Draw the Shot Path
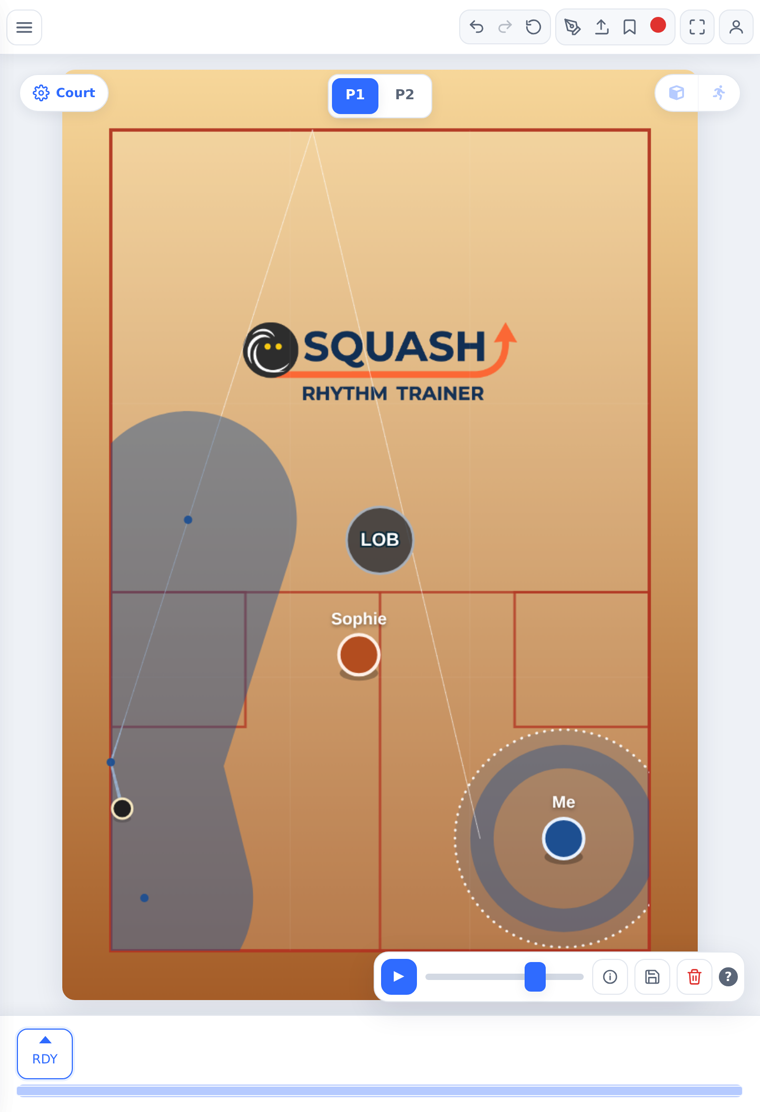
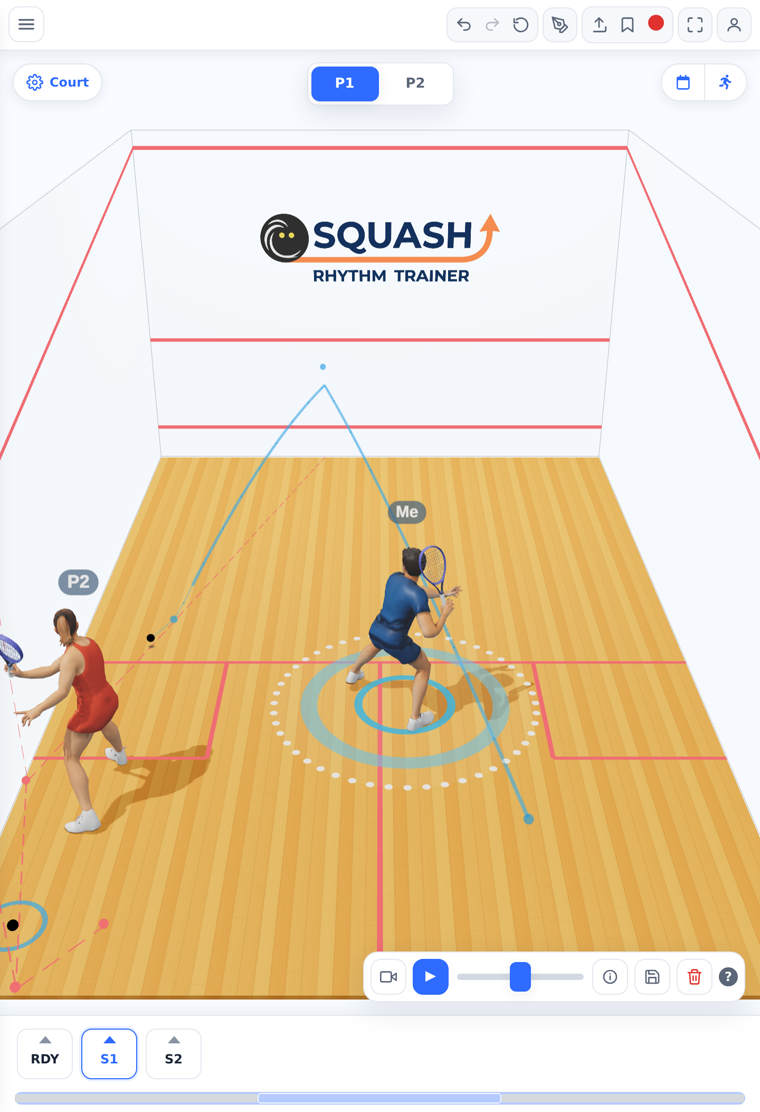
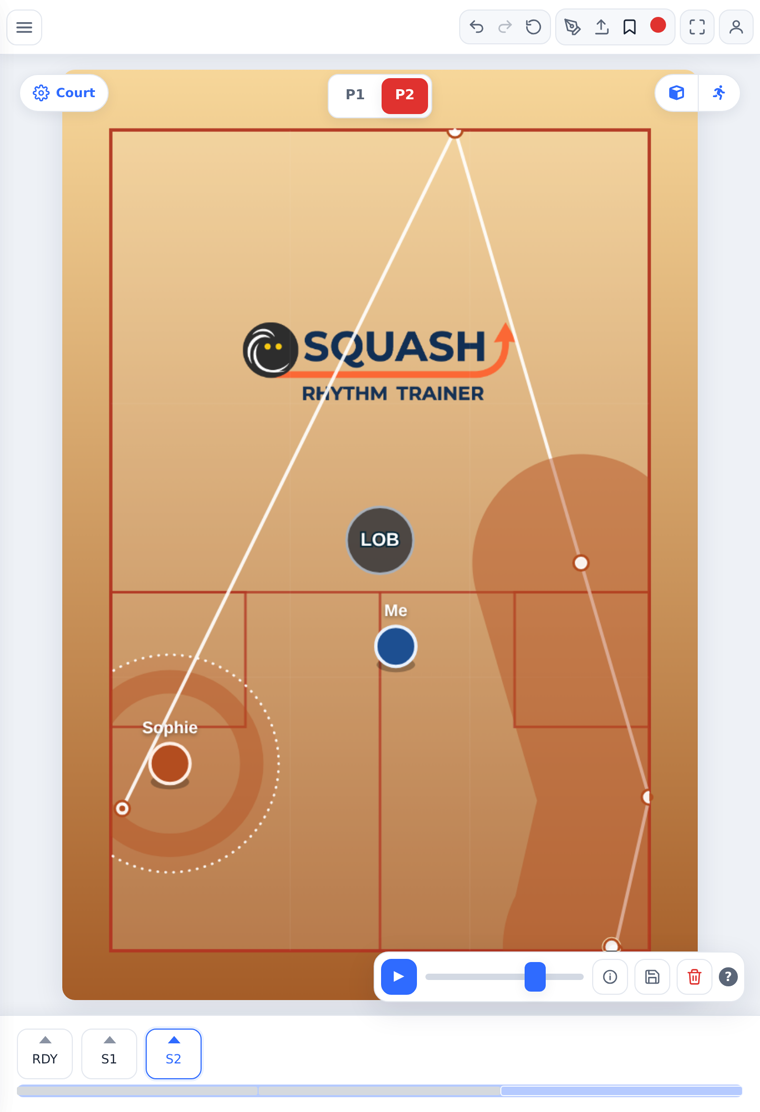
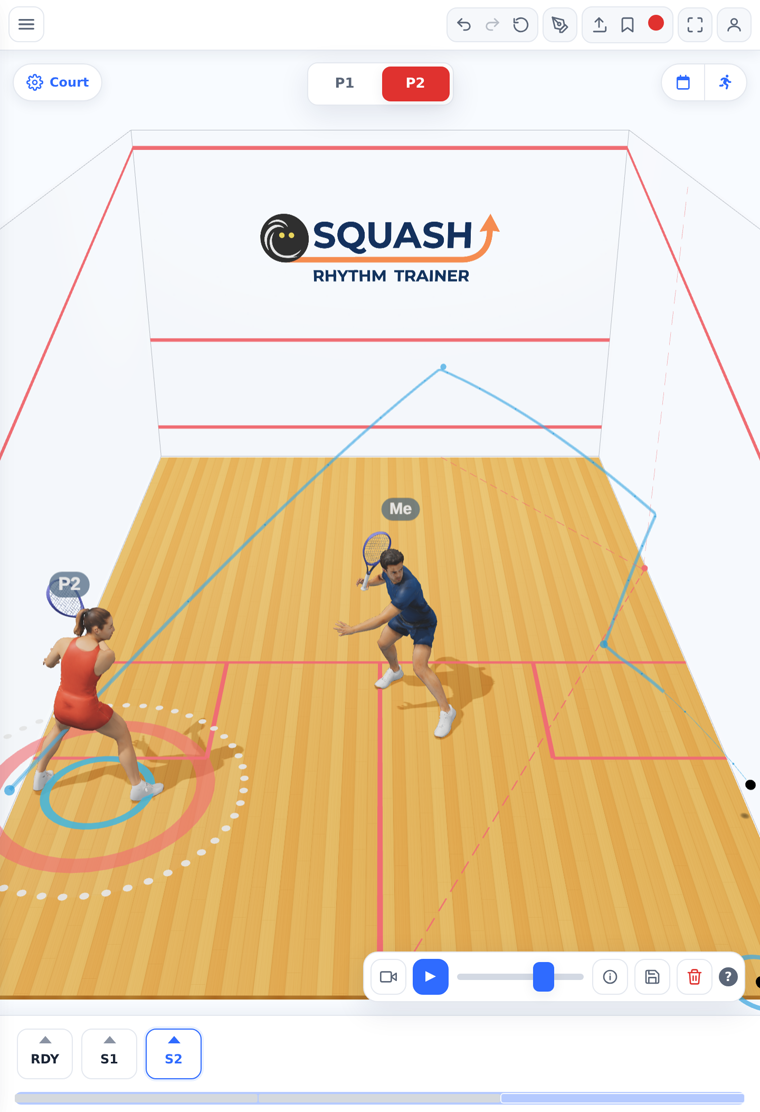
Pick the shooter (P1/P2), then tap the walls and floor in order. Shot Snap guides your taps; Auto Hop places the 2nd bounce by physics.
Step 3
Scrub to the Receive Point
Drag the playback slider to watch the ball fly, and stop where a receive is possible — around the middle of the hop.
Step 4
Reposition the Players
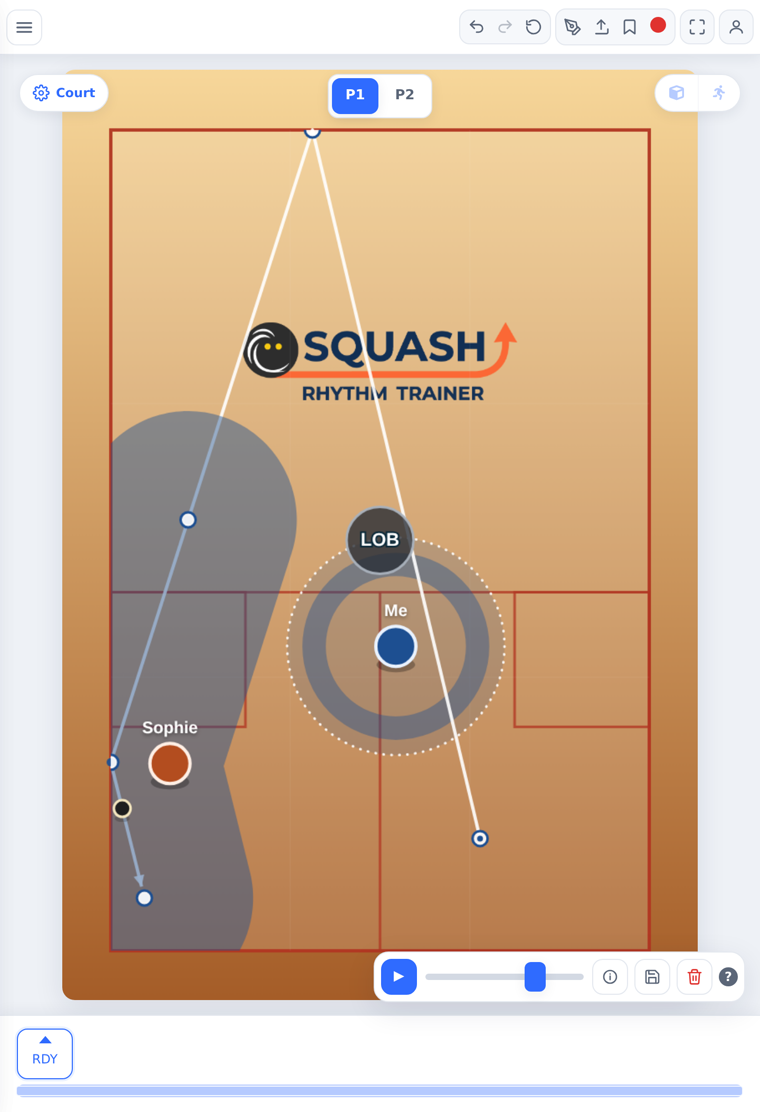
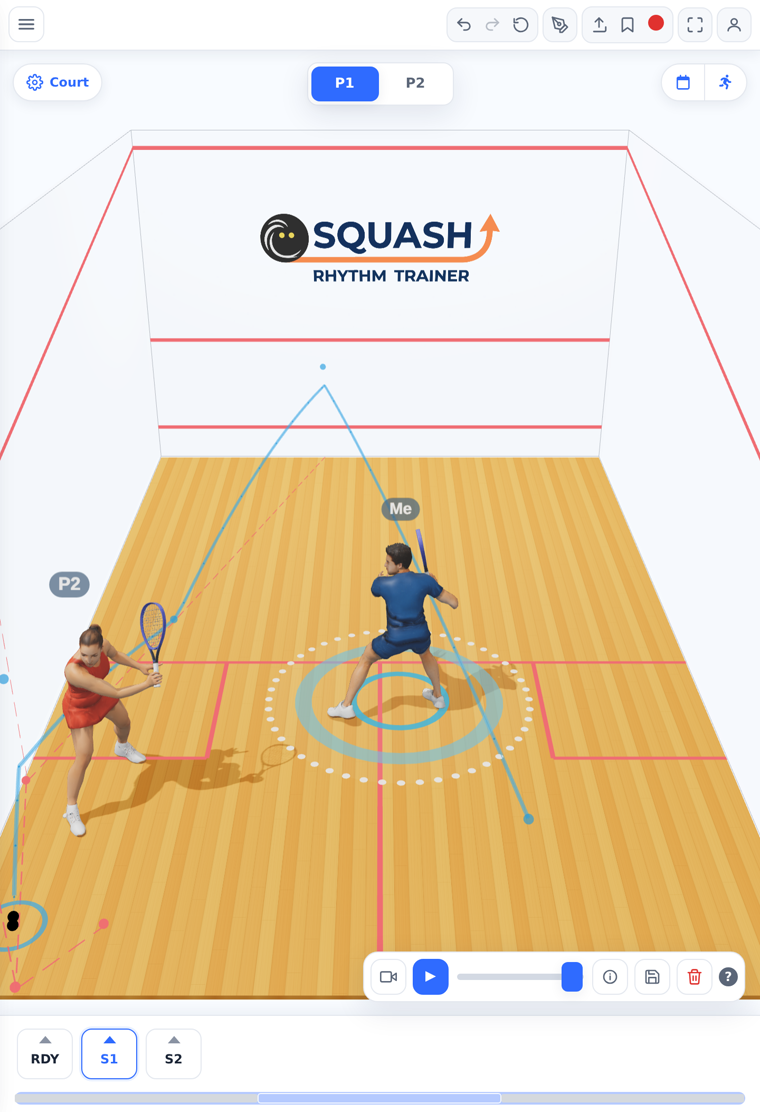
The player who just hit recovers to the T; the opponent moves to the stopped ball — the receive position.
Step 5
Save & Repeat
Press Save — that is one shot (S1). Repeat for a few turns: draw the return, scrub, reposition, save.
Step 6
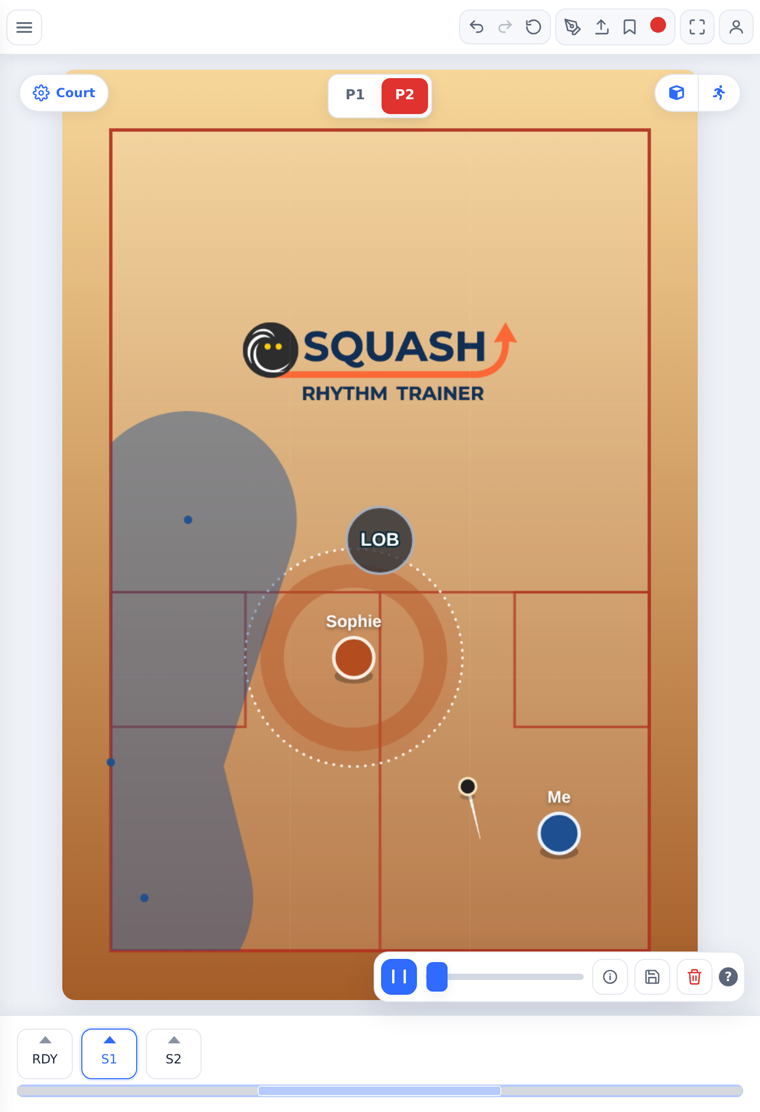
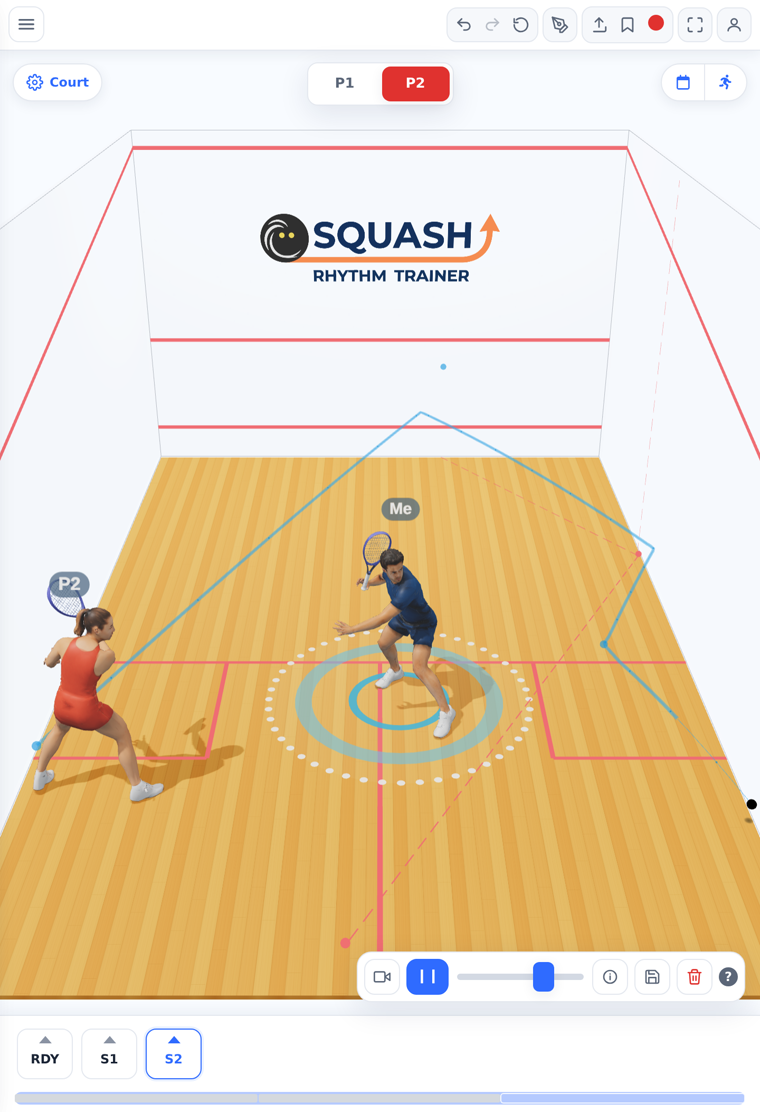
Play the Sequence
Press Play on the sequence bar to run the whole rally — then train it as a Draft Drill with the dumbbell button.